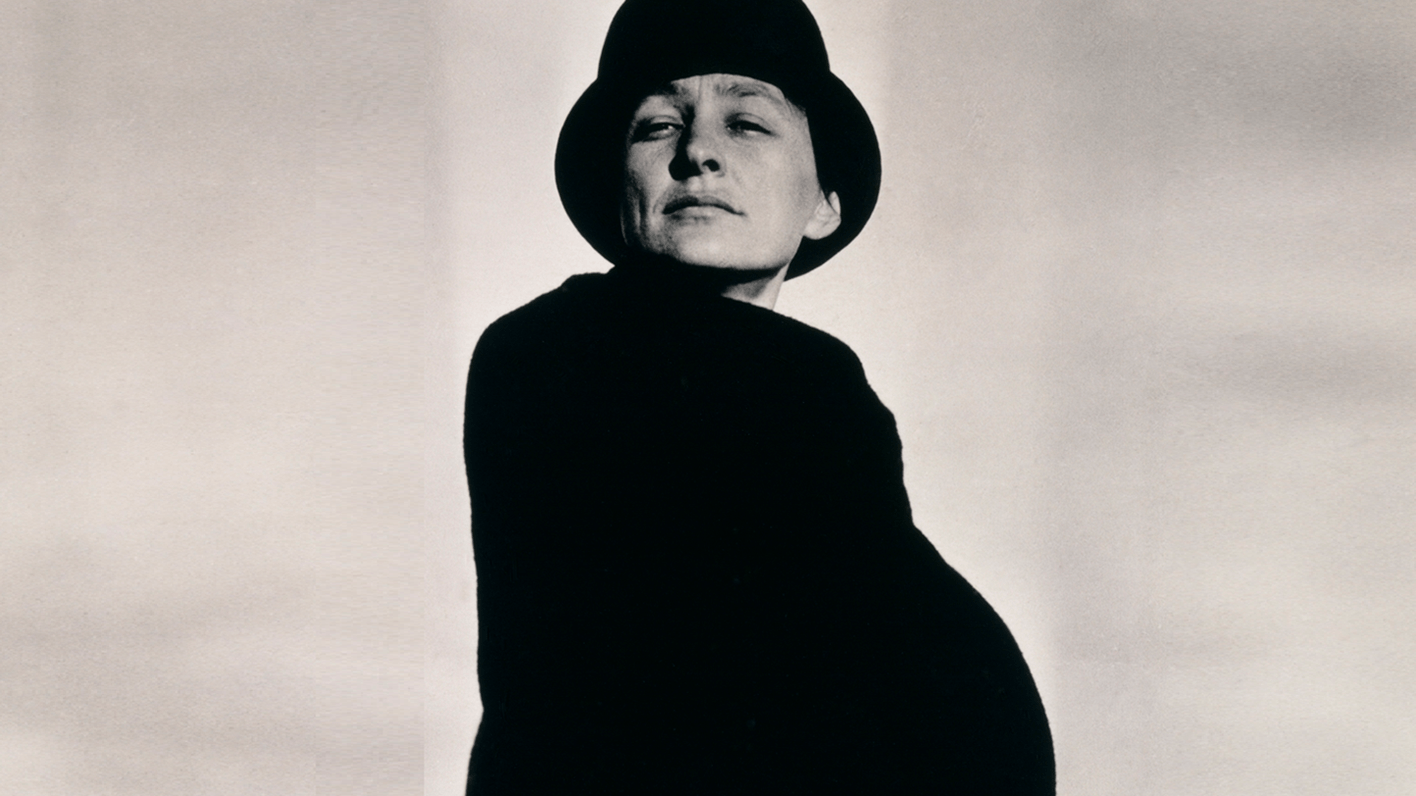
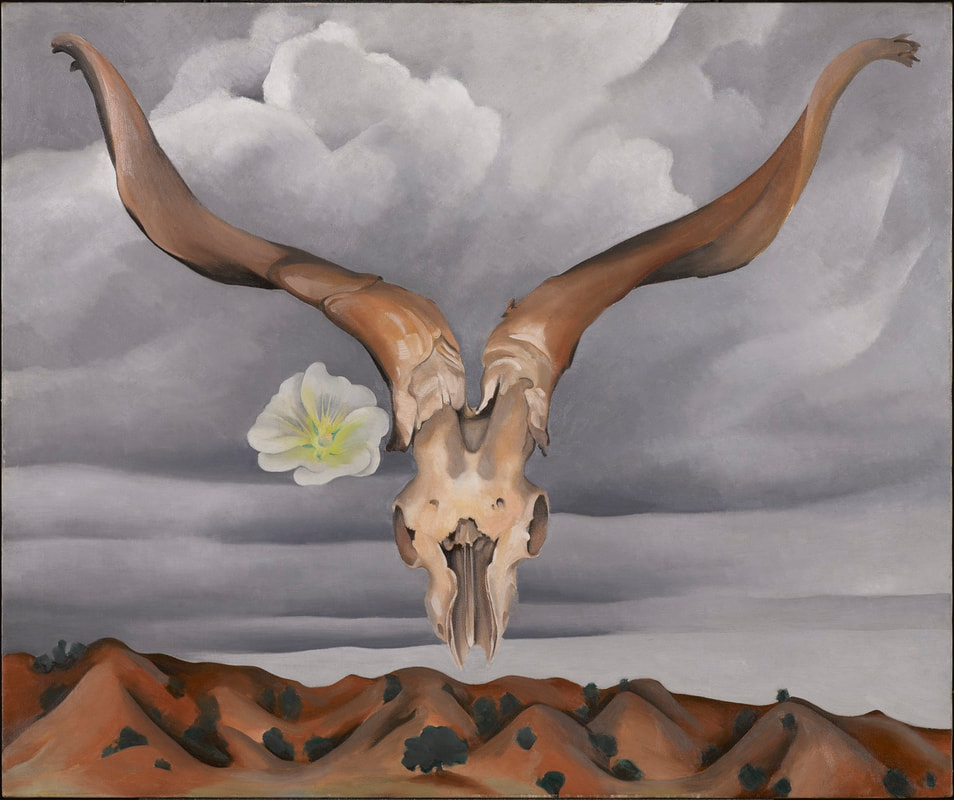
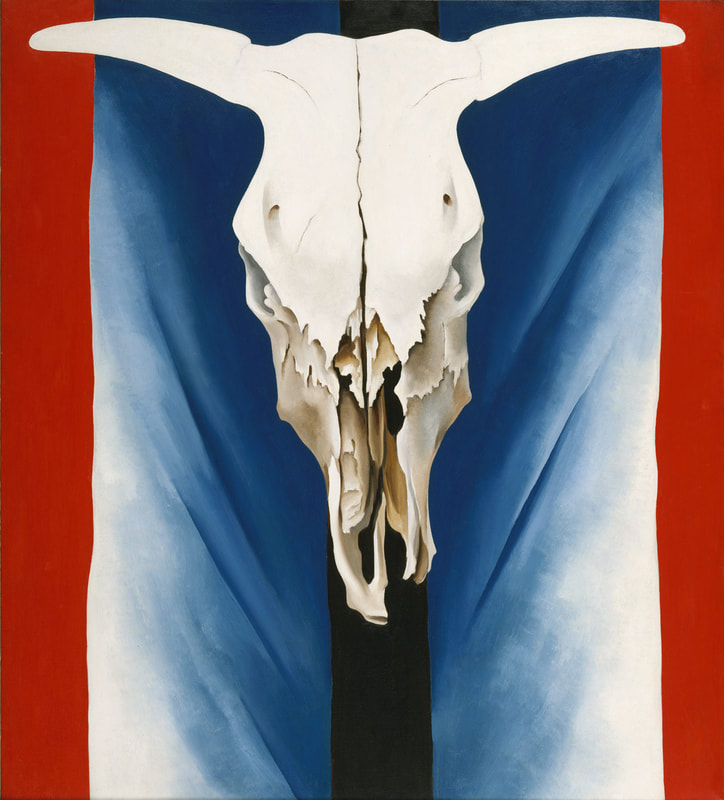
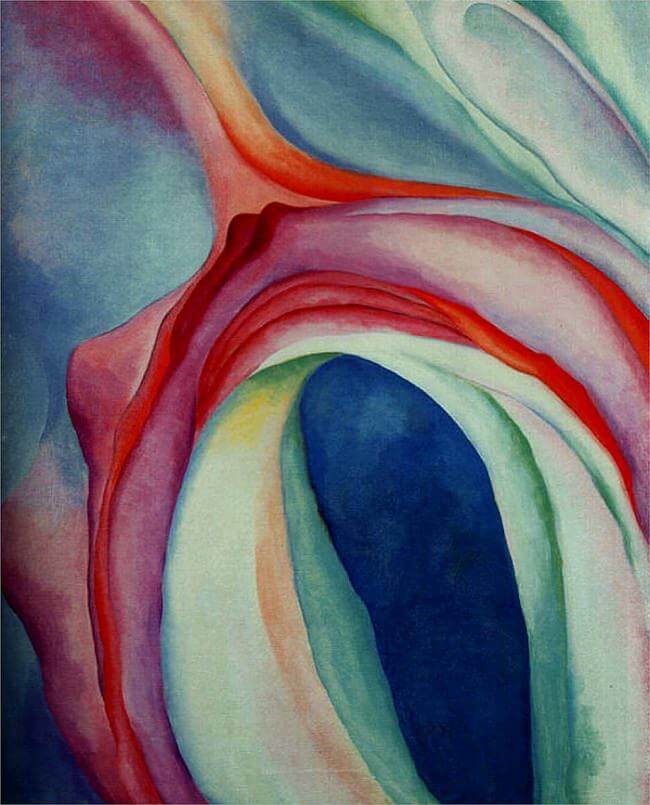
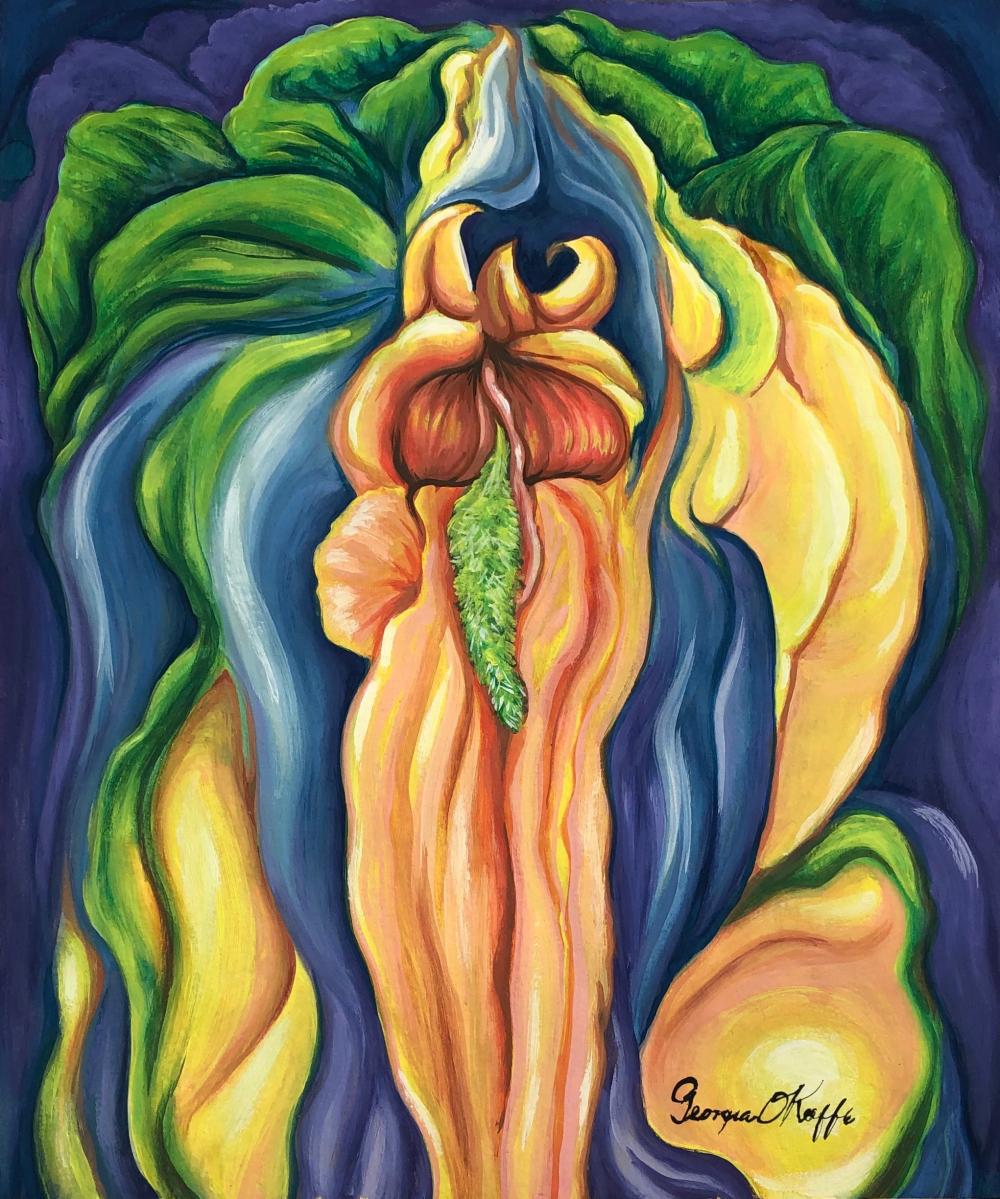
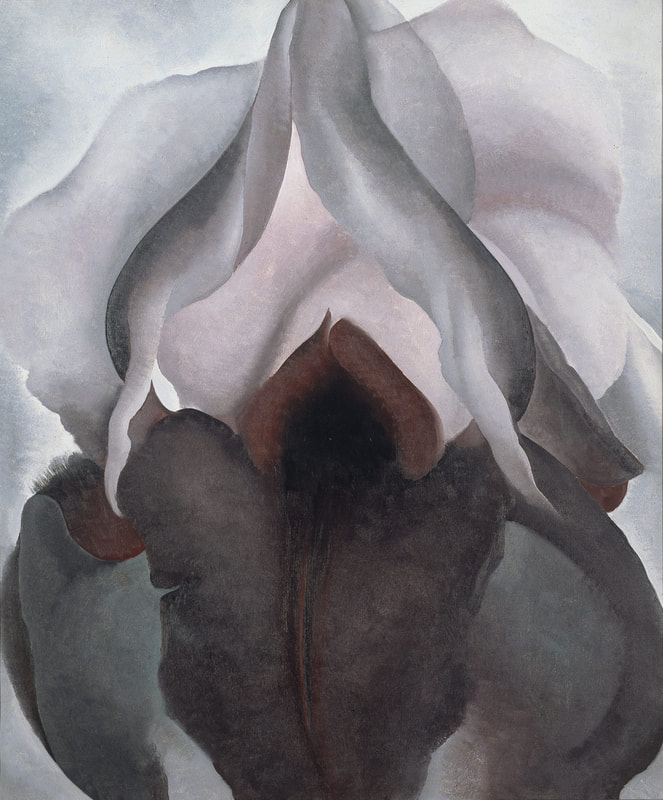
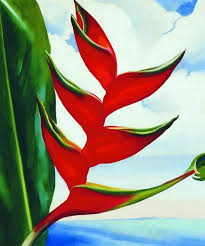
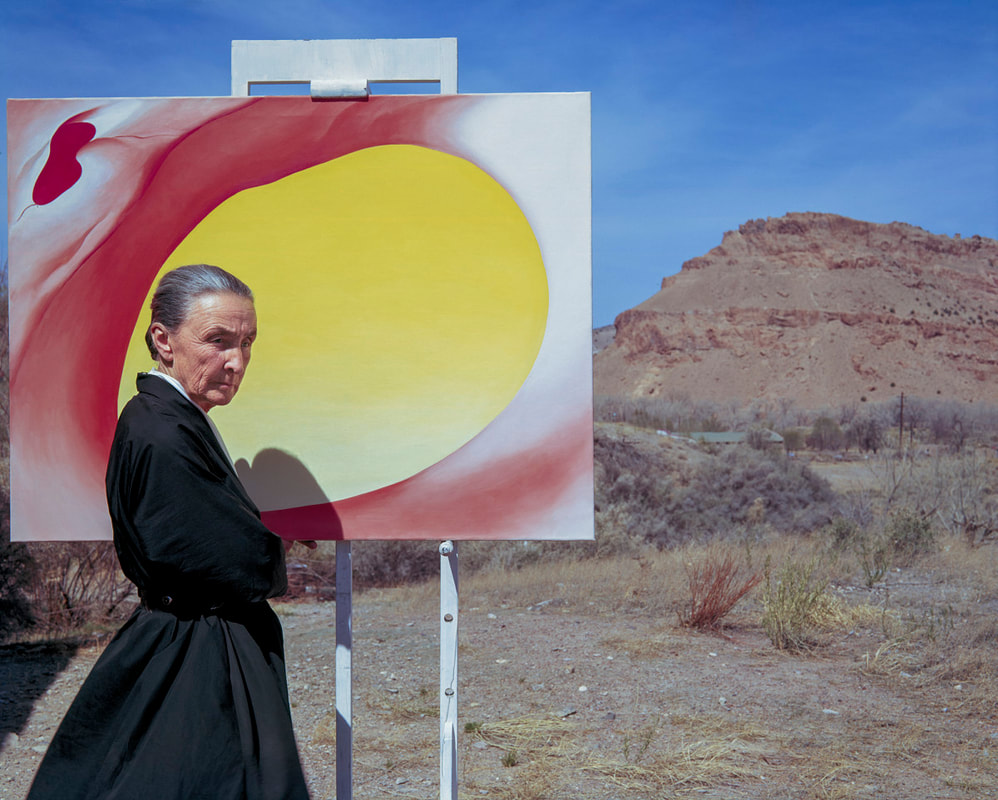
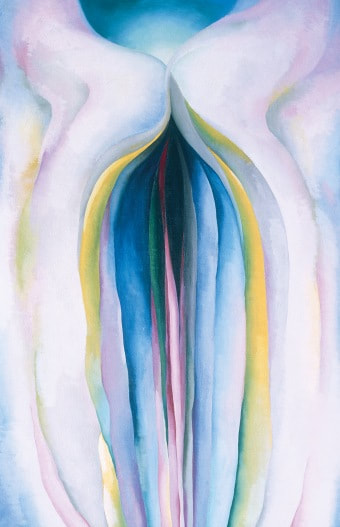
Welcome to
  • Home
  • FIMA
    • Intro Assignments
    • Surrealist Collage >
      • Surrealist Travel Poster
    • Color >
      • POP ART
    • PenTool >
      • Pen Tool Silhouette
    • Blends
    • Digital Landscape >
      • City Scapes
    • Animal Poly
    • Animal Mandalas
    • Character Illustrations
    • Playing Arts
    • Product Design
    • Skateboard Product Design
    • Propaganda & Appropriation >
      • Propaganda & Activism
      • Banksy
      • Propaganda Posters
      • Double Exposure
    • Emphasis Graphictures
    • Digital Painting
  • Studio Art
    • Intro Assignments
    • Elements of Art
    • Artist Trading Cards
    • Inktober... Inspired Monthly Drawing Challenge
    • Contour Line >
      • Contour Line; EMPHASIS
    • Color >
      • Abstraction
      • Abstract Botanics
    • Pop Art
    • Landscapes
    • Everyday Illustrations
    • Keith Haring Postcard
    • Plane Value
    • Surrealism
    • Contemporary Art; Scarecrows
    • Beyond the Border
    • Blind Contour Portraits
    • Comic Art
    • Take a Risk
    • Half Drawn
    • Portrait Paintings
  • Assignments & Resources
  • Make Up Work
  • NAHS
  • Policies & Expectations
    • Participation & Effort Rubric
  • Contact
  • Scholastic Art Awards

Abstract Botanicals
​

Georgia O'Keeffe

Georgia O'Keeffe, an American, 20th century artist from Wisconsin was most famous for her innovative art depicting nature. Although she was trained traditionally, O'Keeffe experimented with her artwork for a few years and found the alternative to realism . . . abstraction. Her simplified artworks mostly consisted of landscapes, clouds, bones, and flowers but kept her viewers engaged within its unique composition and use of colors. 
Georgia O'Keeffe
Picture

                     Your Mission:                                                          Rubric:

For this project, you will either need to take a photo from nature or find an image from one of the resources provided to you in class. 
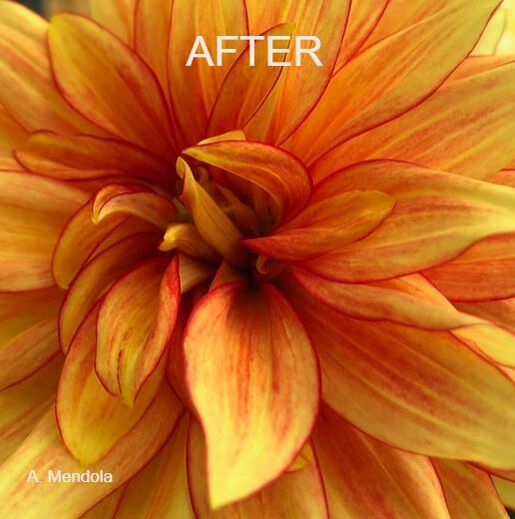
The chosen image will be zoomed in and cropped to create an interesting composition. Applying your knowledge of color theory and value, you'll create an abstract botanical of your own, in the style of Georgia O'Keeffe. 
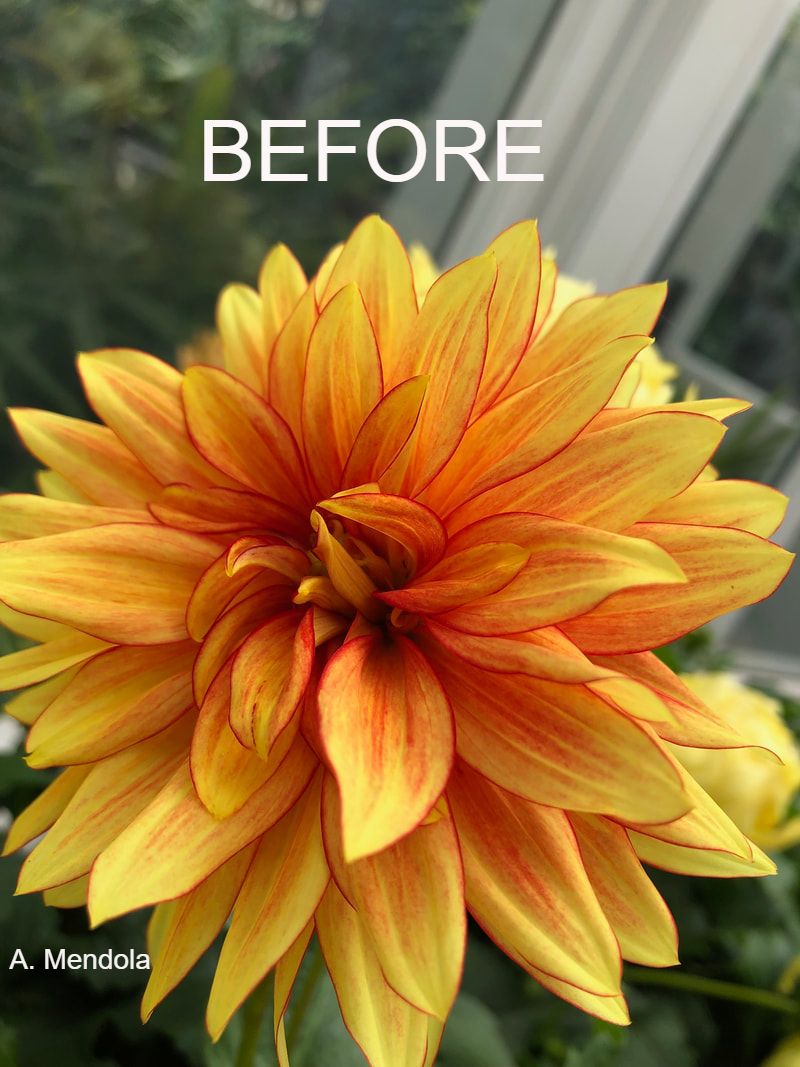
Picture
Picture

STEP 2: VIDEO TUTORIAL


STEP 3 & 4 VIDEO TUTORIAL; TOP LEFT SQUARE
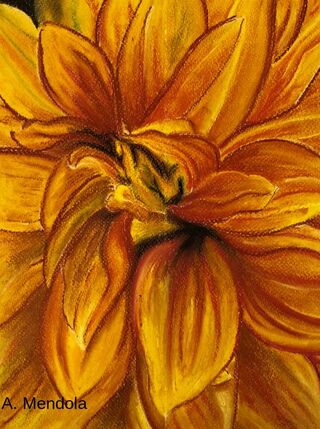
Picture

Steps:

STEP 1: MAKING A GRID
  1. Alter your botanical photograph
  2. Create a 4-square grid on top of your reference photo (step 1)
  3. Repeat that same 4-square grid on your pastel paper, doubling the measurements
       ** BE SURE TO USE A PASTEL PENCIL OF A COLOR THAT IS IN
                                    YOUR REFERENCE IMAGE **

STEP 2: DRAWING FROM THE GRID
  1. Starting the top left square and using a pastel colored pencil that is in your reference photo, begin drawing the lines and shapes as you see them 
    1. Take note of where the lines/shapes end and where things are in reference to one another. The grid is supposed to help make your drawing more accurate and true to the reference image. 
  2. Repeat Step 1 and Step 1.1 for the remaining three squares. 
    1. Pay attention to your reference image and determine if it will be easiest to work left-to-right or top-to-bottom by seeing where the connections are and your comfort level

STEP 3: ADDING COLOR
  1. Determine your base color (For the example shown, the base color is a deep yellow since that is the main color of all the flower petals)
  2. Starting with one petal at a time, color in the petal using your base color, following the contours of the petal drawing 
  3. Add your second color where it is seen (For the example shown, the second color is the red-orange color) 
    1. Using your finger, light towel, or a blending stick, blend in the two colors until you get the desired look matching your reference photo. **You may need to continue adding layers of the base and second color applying different stroke techniques**
  4. Continue Step 2, Step 3, and Step 3.1 for every petal  **Depending on your reference photo, your base and/or second color may not stay the same**

STEP 4: ADDING DETAILS
  1. Once the base and main colors are blended for each of the flower petals, adding the details will be the last and final step 
  2. Choose an appropriate colored pastel pencil, add in the details such as the extreme shadows and highlights.  
Proudly powered by Weebly