Contour Lines
Remember on the first day of school, I said if you could hold a pencil to write your name, you could create anything?! Well, we are going to begin by learning how to draw contours, or outlines of an object.
In order to draw the contours, or outlines, we not only need to train our eyes to see the various types of lines, but we also need to train our brain and motor skills to draw what we SEE and NOT what we THINK WE SEE!
This is what we call the Right, Left Brain Battle!
You will choose one of the images provided. The image will be placed upside down the entire time and you will draw the lines as you see them. WHY? When we place an image upside down, the objects are not as recognizable, allowing our right side of the brain to focus on what we are actually seeing. Are your drawings going to come out perfect? NO! Everything we do, whether in art class or in every day life requires practice. This skill requires the 3 P's: Practice, Patience, and Persistence.
Check out the site below for more examples and information on the different types of line drawings you can make
Contour Classwork:
|
|
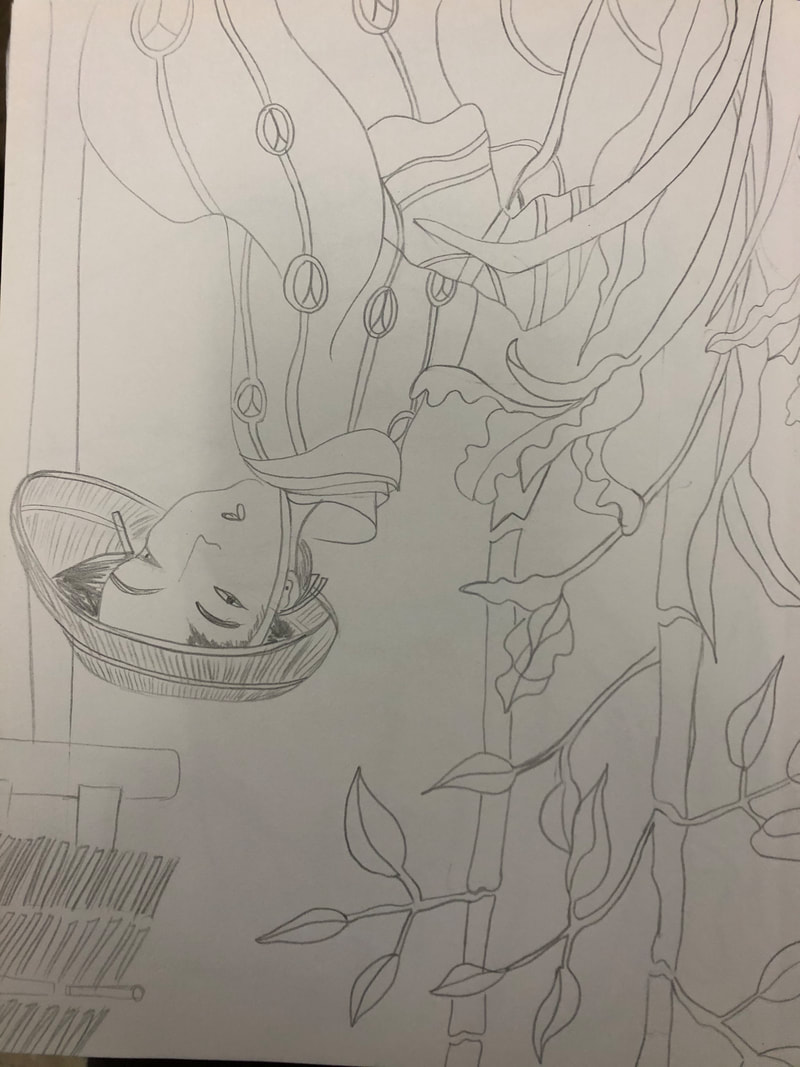
Assignment #1: Upside Drawing
On a clean page in your sketchbook you are going to follow the upside down drawing from Mona Brookes. Start in the upper left corner and work your way down, drawing the lines as you see them. When you work in small sections and pay close attention to the lines you are drawing and the relationship they have with each other, your brain gets tricked into drawing what it is actually seeing and not what your brain thinks something should look like. This is not a quick assignment - it takes time, patience, and effort. Worth 50 points Assignment #2: Contour Station Drawing On a clean page in your sketchbook, you are going to choose 2 of the objects provided. Divide your sketchbook page in half. Draw the outline of the objects to fill in the page. Look at the line types and the relationship with other lines. Begin adding the most important detail lines inside the object. Look at the examples of contour drawings. Worth 25 points |

YOUR MISSION; PART I
|
You will be choosing one of the still life stations to draw. Before beginning your composition, you will be creating
5 thumbnail sketches of different view points or angles of the still life. These 5 thumbnail sketches are worth 25 points. After the 5 thumbnail sketches are finished, you will choose ONE of the designs that is your favorite. This will be drawn larger onto our final copy paper. Remember when you are drawing you are using LIGHT PRESSURE and you are drawing EXACTLY WHAT YOU SEE using various types of lines to show the object and its detail If you end up making it up, you will receive a ZERO!! |
|
YOUR MISSION; PART II
|
You will choose 1 of your thumbnail designs to use as your still life drawing.
To create a still life, you will still need to draw the objects from observation at whatever angle/viewpoint you chose in your thumbnail design. When you are drawing your thumbnail as the final composition, you will need to draw it large enough to fill your paper and will need to focus on how the objects relate to one another. The most important thing to remember when you are drawing your still life is to draw the objects exactly as you see them using contour lines only. When making a contour line drawing of a still life, you want to include all of the important details without doing any coloring or shading. |
|
Contour Still Life Drawing Rubric
| contour_still_life_drawing_rubric_.pdf |